Wednesday, May 30, 2012

Summer Favorites

I really like the Bella Blvd line Sunshine Happiness that we got for May.  Although it is pretty girly, I was still able to use it for my son's summer favorites by using the backside of the paper. 

For this month's challenge we had to emboss.  I used the Big Shot with the polka-dot embossing plate to emboss by paper banner. 


I also embossed some little fish using translucent powder embossing, but was disappointed with the result, so I went over them with Liquid Pearls.

I had to use some Stickles on the I "heart" summer to change the pink letters to blue, red and green. 


There are so many different ways to emboss.  Have fun with it.  Try different techniques, see which one you like best.

Stephanie

Friday, May 25, 2012

What to do with busy paper

A lot of scrapbookers don't know what to do with so-called 'busy' patterned paper. I understand the dilemma. You don't want the paper to compete with your pictures. It's a challenge to use busy paper but it's not impossible.

This month, I picked up hockey themed paper at Auntie Em's. The papers are from Karen Foster Designs. I made two pages with these papers. Here is the first one:

These pictures were long overdue to be scrapped! They were taken as my friends Diane (who still remains blogless) and JM and I were about to leave to go to game 1 of round 3 of the 2003 Stanley Cup playoffs. To say we were excited is an understatement. 

Notice that I used the busy paper on this page but I used it sparingly. I used as a background behind the black cardstock. I also used two of the pattern papers to make a horizontal border below the pictures, using two different border punches. I used pop-up tape to create dimension on the top border piece. I wrapped a red rick-rack ribbon piece around the top border piece. I finished off the borders with white brads at each end.

I glued the pictures on an angle and slightly overlapped. I then added a few of what I call 'manly' embellishments and a journalling box made of white chipboard.
To me, the best thing about this layout is the ticket stub. It's one of those minor miracles in life that I still had this ticket stub! I decided to pretty it up with the same red ribbon I used on the border and a large white brad. I find it cool for many reasons. I'll be able to look at it in future and see where I sat and how much I paid for the ticket!


By the way, the Ottawa Senators ended up winning the game in overtime. It. Was. Amazing.

I used a totally different approach to busy patterned paper for the page below. I used the busy paper as the background. I muted it a bit by framing it with black cardstock.

This paper was busy along the edges but there was a clear-ish space in the middle so it was perfect for a one-picture layout. This picture was also long overdue to be scrapped. Diane and I had our picture taken with the Stanley Cup in April 2002!

I decided to 'frame' the picture with a horizontal and vertical border. I used border punches and ribbons to create visual interest. At the intersection of the borders, I clustered some embellishments and added very short and to-the-point journalling.

I hope you liked my different approaches to busy patterned papers. I also hope that, if you shied away from them in the past, you try to use busy patterned paper. Experiment people. The results are worth it!


Happy scrappin'


Thursday, May 24, 2012

May Page Maps - Lorena's take

May is here - which means all the pretty flowers are blooming, the weather is warming up, and the days get longer and my kids will be in better moods and I will be once again relieved from "sock matching duty" man do I hate doing that - I hate socks in general - but I hate to have to match them up into pairs and distribute the correct socks back to their owners.  Ah the sweet smell of summer around the corner, oh how I missed you!

This month at Auntie Em's we are featuring the Bella Blvd. line called Sunshine & Happiness and using the Pagemaps Calendar.  We are using embossing techniques.  I found that this collection has alot of bright summery colours too it, in fact in true Bella Blvd. style there are tones of colours, too many really.  I wanted to use some photos of my kiddies from last summer's adventures for this layout.  I chose to pull out the greens and oranges from the layout.  I did some heat embossing with white embossing powder and my Prima "hex net" stamp - oh how I love that stamp, I looked long and hard for it to!  I also masked off the edge of one of the patterned papers and inked and embossed the edge with Antique Linen distress ink and clear embossing powder.  I dry embossed two styles of polka dots behind each of the photo matings, and clear embossed the orange popsicle as an embellishment.  I added some flowers and done done.


Enjoy!!


~Lorena~

Wednesday, May 23, 2012

Bear bums!

This month we were given an awesome line of paper with such beautiful colours. At first I didn't know what to do since the colours were so summery and I have yet to take pictures of baby girl in the summer since she was born September 1st. And the line was a little too childish for my own use. Then I remembered! I did a photoshoot in early April that would be perfect for this since the pics were black and white.

This picture of baby girl is by far one of my favorites. Plus now that she crawls that picture would be impossible to recreate.

I wanted to create something simple and quick this month; my time was limited and I'm trying really hard to produce quality pages in the least time possible since now I have to scrapbook for my niece.

I knew right away I wanted to do something nice with the title, I love the cleverness of bear bums. So I got on my computer and started looking for the correct font. I used illustrator to create the title and layed it out the way I wanted it on the layout. Then I saved the file as an SVG and loaded into sure cuts a lot to get ready to cut it. I love this program it has made my cricut the best tool ever. Being a graphic designer typography is really important to me and being able to manage the typography this closely in my layouts is amazing. Once loaded into sure cuts a lot it was fairly quick load the paper in the cricut and plug the usb to my computer and I was set.

The rest of the layout was fairly quickly put together I decided to keep the polka dots as the main attraction for my layout by layering different polka dot patterns at the bottom of the page and using a cute polka dot ribbon too. BUT WAIT the challenge this month was embossing!! I sneaked my embossing in by using my cuddlebug and this great over sized polka dot embossing folder I got at Emma's. This allowed me to add a suttle embossing on the blue cardstock at the bottom it turned out great.


Other then that I came up with names for her teddies and added those on little pieces of white cardstock and wrote them out with my orange staedler pen and popped them up to give a bit of interest to the layout.


Hope you like it and I can't wait to see all your layouts this month at Emma's. Make sure you participate the prizes are pretty awesome.

Monday, May 21, 2012

Introduction to Copic Markers class - May 26th

Due to popular demand we will be having an Introduction to Copic Markers class on Saturday, May 26th starting at 1:30 pm. Class fee of $65.00 + HST applicable. You need not bring anything (maybe a pencil/pen and a notepad - but not necessary) If you already own any copic markers it is suggested that you bring them, as you may wish to experiment with other colours.


So if you missed the classes earlier this year, I will be running the same class again. This class will include SIX markers to get you started as well as different techniques of colouring and blending.


The colours included in the class are as follows:

BG10

YR24

R29

R39

YG93

YG95


Contact Auntie Em's Scrapbooking 613-938-4888, to reserve your spot for the May 26th class.

In June I will be running an Advanced Copic class with a Make and Take included - keep your eyes peeled on the Auntie Em's blog and Lorena's blog for details!  The prerequesit for the advanced courses is to have this Introduction course completed.  Sign up today!

~Lorena~

Friday, May 11, 2012

Let's Go Buffalo!

My husband Matt says that he's lucky to have a wife who likes to watch sports. He's right. He is lucky! In all seriousness, I do love my sports, my favourites being hockey and football.

During the NFL season, Sundays in my household are reserved for watching football. Matt has been a life-long Buffalo Bills fan. If you know anything about football, you know that he's a long-suffering Buffalo Bills fan! Anyway, he talked for years about going to Buffalo to see an NFL game live.

This past October, we did just that. We drove to Buffalo to experience the NFL in person. It was amazing and Buffalo actually won the game...which, if you know anything about football, doesn't happen all that often!

I took lots of amazing pictures. So, when I saw Get Your Game On collection by My Little Yellow Bicycle Auntie Em's, I thought it was perfect! Here is what I came up with:


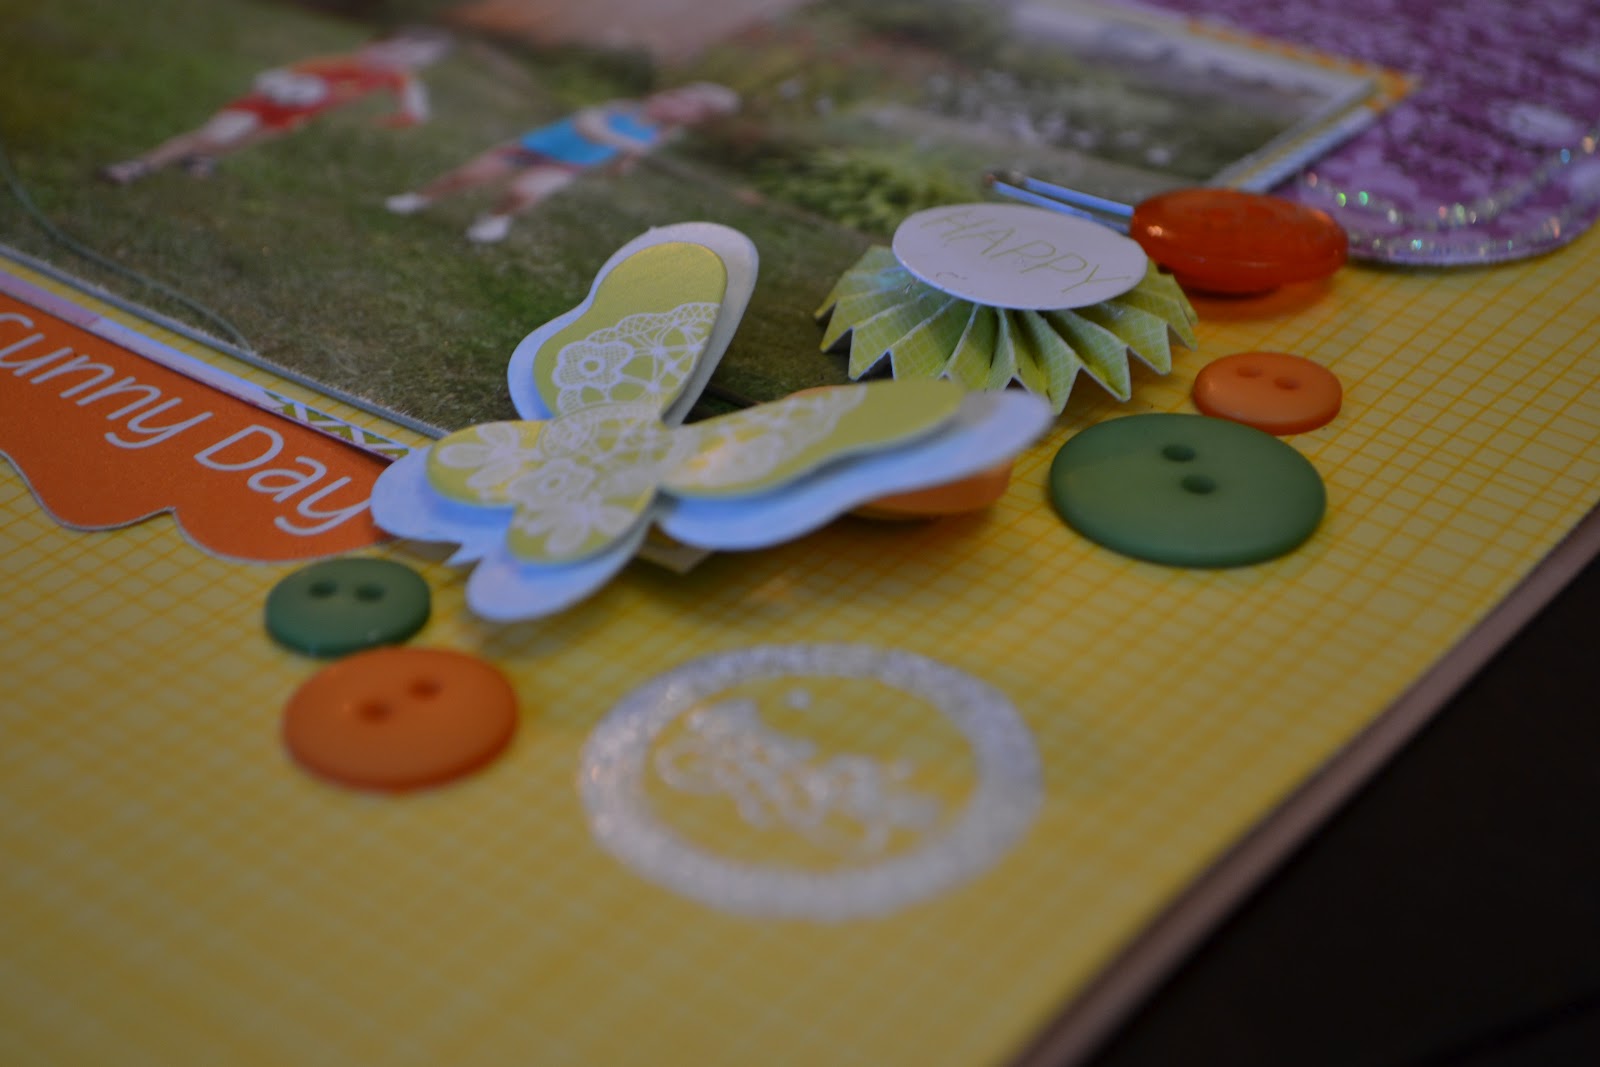
I love Little Yellow Bicycle paper! It's so thick and of high quality. That being said, creating these pages was challenging. The colours of the paper are not the colours of the Buffalo Bills! As you can see, the papers are green, a sort of beige and brown. Buffalo's colours are blue,red and white. I decided not to fight it and combine all the colours.

On the first page, I used pictures of Matt and I all smiles after the Bills won the game.


This paper didn't need much embellishment. Plus, this is a football page so flowers weren't exactly appropriate. I think I was pretty successful at adding embellishments that were masculine enough to go with the theme of the page.

Here is a list of the techniques I used:
- Sanded the edge of the pictures
- Used the Big Shot to cut the blue tag
- Used a border punch to create the mini-border is red cardstock
- Used Distress Ink on a piece of chipboard and journalled on it using a white pen
- Repeated the colour blue by using a piece of rickrack ribbon
- Used a fabric covered button and covered it with a green Distress Ink
- Sprayed the corrugated cardboard piece with Perfect Pearls
- Covered a piece of rope with a dark brown Distress Ink and tied it around the star
- Layered the embellishments
- Used a green Distress Ink on the Basic Grey letters (they were white originally)


The second page features Matt moments after the Bills officially won the game. To say he was excited is an understatement!


I repeated a lot of the same techniques that I did on the first page. Here's what I did differently:
- Used a Tim Holtz die and the Big Shot to make the tickets
- Used the Cricut to cut the flags for the banner
- Inked the edges of the flags with Distress Ink
- Ties the banner using rope and eyelets


Even though I had a challenge with colours, I'm really happy with the results! Check on the Get Your Game On collection at Auntie Em's!


Happy scrappin'!


Wednesday, May 9, 2012

On A Sunny Day

As a mom to a 3-year old boy and a scrapbooker, I love to use bright coloured papers. That's why I love the line that the design team was given for May by Bella Blvd called Sunshine Happiness.

Besides the fact that the name of the collection says it all, this collection screams summer. I happened to have a photo of my little guy playing in our backyard with his friend Alanna. Alanna and Sam were running through the sprinkler on a hot July day.


The technique featured this month is embossing. I love to heat emboss! I used chestnut embossing powder in a mat finish to fill some of the white space on the left side of the page:


I used sparkly white embossing powder to create a mini border on the bottom-left of the page, on the edge of the fan flower and in the embellishment cluster on the right side of the photo:


I typically do not create elaborate embellishment clusters. The main reason is that I tend to create layouts featuring Sam and it's hard to find 'boyish' embellishments. These buttons work perfectly! Since there was a little girl in the photo with Sam, I took advantage and used a butterfly:


This layout makes me look forward to summer. It's coming soon and I'm sure I will have more pictures of Sam running through the sprinkler in our backyard to scrapbook!

Happy scrappin'!

Monday, May 7, 2012

National Scrapbooking Day Blog Hop

Thank you all so much for stopping by and commenting! I so enjoyed reading them all! I am very proud of the talented ladies who are on my design team. Here's hoping you come and visit often or become a subscriber/follower! Also if you would like to join us on facebook please "like" us here So not being very techy I thought to my self how shall I pick a winner - oh I know I'll write all all the numbers put them in a hat and then pull one! But after our big Cari Fennell/Prima weekend I was feeling kind of lazy. So I thought hey why not google it and see what I can find - so I went with the first search find - clicked on random number generator for 1-88 and up popped a number! Pretty cool, eh! And the number generated is number 5 - WINNER is Monique Robertson! Congratulations! Hope you will enjoy your prize! Thanks again everyone for showing the love - I greatly appreciate it! Sorry for the run on paragraph but I can't seem to figure out how to fix it!! (good example of my not techy side!)

Tuesday, May 1, 2012

May I present to you some Sunshine Happiness

May is here, and as I promised you April showers brought the May flowers ... in the form of Bella Blvd.'s Sunshine Happiness!

What a beautiful way to bring in the summer than with this paper line.  Full of pinks, purples, flowers, and fruit. 


Lets see what your Auntie Em's design team has come up with to inspire you to utilize the May sketch from the Scrapbook and Cards today calendar!


Nancy's take:

I decided to create a simple clean line layout and used the embossing to add another polka dot pattern. I created my blue embossed strip at the bottom using one of my favorite tools the cuddlebug. it added just the right amount of detail to a simple clean layout.


Sarah's take:


I love to heat emboss! I used sparkly embossing powder in the embellishment cluster on the right side of the photo, on the border of my fan flower and on the mini-border at the bottom left of the page. I also used mat embossing powder in chestnut for a more muted look.


Stephanie's take:


I really like dry embossing, but I don't do it very much, since I usually forget about it until it's too late.  For this layout I dry embossed the small strip of paper on the bottom right corner.  I originally used heat emboss for the little fish, in a translucent colour, but when I was done my page I was disappointed with the result.  So I decided to embossed the little fish with Liquid Pearls in white opal.  Is that wet emboss?  I don't know...


Lorena's take: 

I played up the greens and oranges from this line to bring out the colours in my kids clothes. I heat embossed the popsicle and the border on the cherry paper as well as the chicken wire on the orange paper. I dry embossed on the background of each of my photo matting. 


Remember you too can play along by bringing your May sketch using Auntie Em's product into the store - there is a fantastic prize to be won if your layout is selected as this month's winner!