Showing posts with label Stephanie. Show all posts

Saturday, December 1, 2012

December Design Team reveal

This is your final installment of your Auntie Em's Design Team layouts for the year 2012!

This month we all got to play with the Holly Jolly collection from Echo Park, full of bright blues, pinks combined with traditional reds and greens.  Plenty of selection for every type of scrapbooker!  The theme this months is Ribbons and Bows - use them on your layout but make sure to leave some for the gifts under your tree!

Here is what the girls came up with:


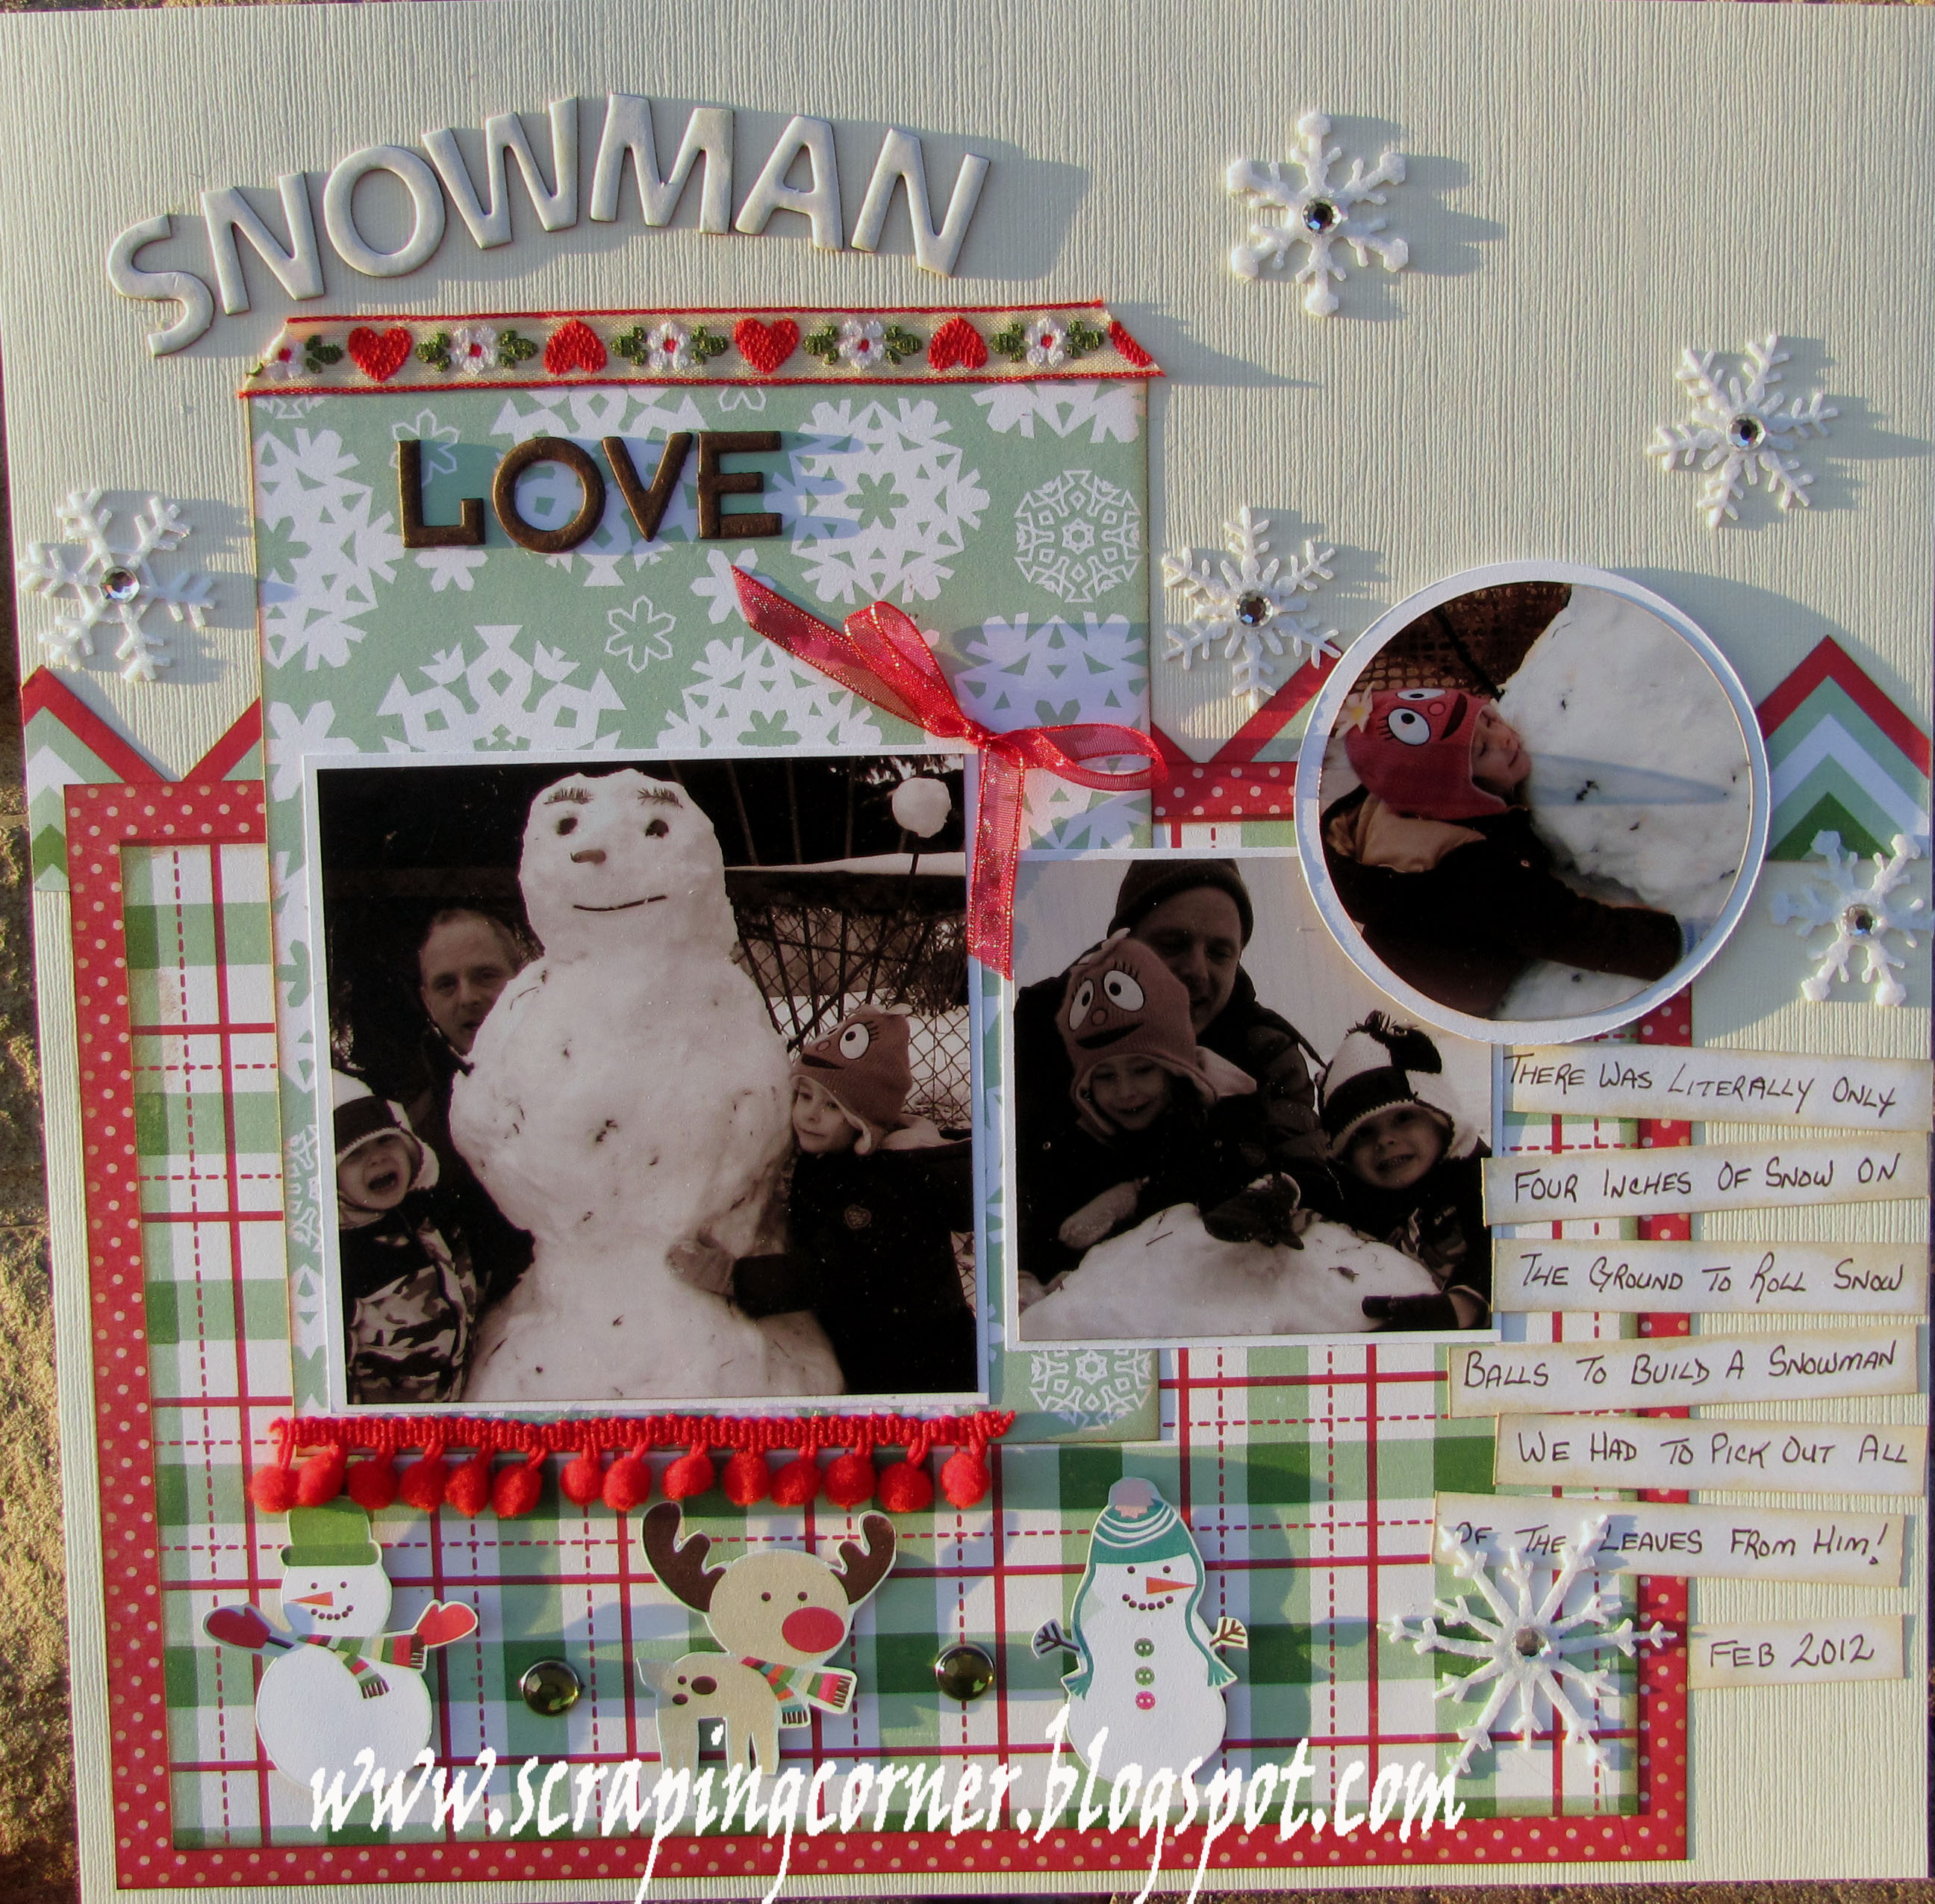
Lorena's Take:  "Snowman Love"

Nancy's Take:

 
Stephanie's Take: Ho Ho (Ho)


Sarah's Take:


You too can play along with this sketch challenge.  Use the Scrapbook & Cards Today sketch calendar and products you have purchased at Auntie Em's to come up with a layout featuring ribbons or bows and bring it into Auntie Em's for a chance to win a fantastic prize!

Stay tuned for next month when we will be announcing some new changes to the Auntie Em's design team.

Friday, November 2, 2012

Life is Good - Your Design Team's November Sketch Challenge

The cool weather is now upon us, so it's a great time to get some crafting done! This month, your Auntie Em's design team used the Life is Good collection by Echo Park and our layouts feature distressing techniques.

Lorena's take:


Nancy's take:
I

For the distressing I pulled out a few pages from a notebook that had a nice little bicycle image in the corner. I crinkled it and sprayed some glimmer mist on it and worked it in to give the paper an antique feel I did this twice wetting the paper as well to make it really wrinkled and blow dried it. Layered 2 of those and voila my page was complete.


Sarah's take:


I used clear Tim Holtz Distress Crackle Paint on all the pattern papers. I distressed the brown vertical band by using the chipboard flowers and sand paper and by distressing the edges. I also distressed the edges of my photos by using a file.

Stephanie's take:


I used brown VersaMark ink on my pattern circles and photo mat, and used a photo from Instagram that had a distressed grainy look to it.  


You too can submit your PageMaps calendar November layout for a chance to win a prize from Auntie Em's Scrapbooking. All you need to do is create a layout based on the sketch using distressing techniques with product purchased from Auntie Em's.  So, bring your layout into the store!

Monday, October 1, 2012

Your October Page Maps sketch challenge

Look what your Auntie Em's design team has put together with the Bo Bunny Whoo-ligans collection!  Based on the October sketch from the Pagemaps calendar.  Your challenge is to create a POCKET!

Lets see how each DT member has integrated a pocket into their layout.

Lorena's Take(s):


Stephanie's Take:
I struggled with my layout this month.  I wasn't thinking outside the box, I had a hard time figuring out how to use the stickers, how to create a pocket and I had no Halloween pictures. 


Sarah's Take:


I had already scrapbooked all my Halloween pictures from last year so I decided to use pictures of my little guy dressing up as Green Latern. I made a pocket with faux-stitching and used it to hide my journalling.

Nancy's Take:
I guess the October layout challenge inspired me more then usual and I was able to create a double page spread. Our challenge was to make a pocket. I actually started out by printing the burger pic of gaby and cutting it out. I was playing with the cutout and making her peek a boo out of the pocket and that's where the title came from.


You can play along for a chance to win a FANTASTIC prize from Auntie Em's Scrapbooking, all you need to do is create a layout based on the sketch utilizing a pocket with product purchased from Auntie Em's.  Simply bring your layout into the store for viewing.

You will NOT be disappointed with the prize that is available to be won!


Saturday, September 1, 2012

Why, Hello Fall!

That's right it's Fall .... well almost.  The kids are back in school, the air is crisp and your Auntie Em's Design Team has been hard at work with the Hello Fall collection from Little Yellow bicycle.  The theme this month is to make your own title for your layout.  Using the PageMaps calendar the girls have come up with these various takes:

Lorena's Take: "We Love The Fall"


Sarah's Take: What Autumn?


I made my own title by following the instructions in the PageMaps calendar. It was really easy and I was happy with the results!

Stephanie's Take: 


I'm not very good at drawing, and I have terrible hand writing, so I decided to use button to create half of my title, the other half, I cheated and used my Cricut.  

Nancy's Take: 


What a perfect opportunity to create a thanksgiving page with such beautiful fall paper. I loved the sketch cause it used a bunch of images and allowed me to get lots of pictures into just one page.

I decided to get fancy with making my own title and used some chipboard letters I already had and traces them on raw chipboard and cut them out then I roughed up the edges drew some stitching and inked them as well. Love love love the result.


Remember you can play along too, there are fantastic prizes up for grabs each and every month at Auntie Em's when you bring in your layout inspired by the PageMaps sketch - this month be sure to make your own Title!

Let us know what you think!

Wednesday, August 1, 2012

August PageMaps Challenge - Songbird style

Have you noticed how flags and pendants are popping up everywhere in scrapbooking?  This month the PageMaps challenge is to create a Flag or Pendant on your layout based on the August PageMaps sketch from the Scrapbook & Cards Today calendar. 
Check out what your Auntie Em's Design Team did using the Songbird collection from Prima Marketing.

If you want to play along for an amazing Auntie Em's prize - simply bring your layout to Auntie Em's before the end of August.

Stephanie's Take: Pretty Girl


I kept it pretty simple this month, letting the photos of my niece be the main focus of this page.  I didn't want embellishments to take over, a simple title, wooden buttons, and my version of a flag was just enough.

Sarah's Take: Mother's Day


Flags are easy and fun to make. I cut a few strips of paper and used a square punch on the end. Then, using liquid glue, I wrapped the other end around a toothpick. I love that an embellishment that took 5 minutes to make can add so much to a layout.


Nancy's Take: Too Cute

When I saw the paper I knew right away what photos I wanted to use. I love it when it's obvious what the page will become. I used the flag in the title and I had a leftover pin from one of the last challenges that went just perfectly on the layout. I simply wrote TOO in brown pen and drew some stitching around it wrapped it around the pin and voila "too cute"

Lorena's Take: "SMORE'S"

I turned the sketch on it's side and created a unique title with the ticket shaped alphabets with this collection.  I used both colour and sepia photos together on this layout to capture the moment of my daughter's Smore's experience - pure love!

Watch this blog every week for more close up's and details about each layout.  You can see each of these layouts displayed at Auntie Em's for the entire month of August.


Sunday, July 1, 2012

July PageMaps Challenge - Your Design Team - Stamping

July is upon us and your Auntie Em's Design Team has been put to the challenge of using the July PageMaps sketch and using stamps to make your own embeslishments.  Featuring the Little Yellow Bicycle collection "Saturdays".  Here is what your design team girls have come up with!

Sarah's take:


I like to use stamps to as accents. On this layout, I used a stamp to create the 'Love' title. I stamped on a scrap piece from the Saturday collection and then used scissors to create my very own personalized die cut. I also stamped on chipboard that I first covered with Glimmer Mist. Finally, I stamped the words 'Consider yourself hugged' on the bottom of the journaling box.


Lorena's Take:

I decided to switch it up this month and convert the one page layout into a double! I used various stamps to add layers to my chipboard pieces including several Prima Marketing stamps and My Mind's Eye .  Infact my "little yellow bicyle" is a Prima stamp too!  Although I have not put a title on this layout, I've been calling it "Cake Face" if you read the journaling - you will see why! 

Stephanie's Take:


For this challenge I decide to stamp on the chipboard stars.  I don't like stamping directly on my pages because I usually end up messing it up.   Although the stars don't look like I had imagined they would, they actually turned out better.  For Instagram users out there, the photos were printed after being processed with Instagram and a little editing with Photoshop, because the photos are square, online printing wants to make them 4x6. Check out my individual post in the next couple of weeks for a full description.

Nancy's Take:
This months challenge was fun and easy the thing I love about stamps is that you can use them in so many different ways it's incredible. Oddly enough my july layout is all about the snow village but eh there are no rules as to when you have to create your pages as long as they get done :)

YOU can participate in this challenge too by bringing your layout based on this sketch to Auntie Em's Scrapbooking before the end of July.  Make sure to use stamps somewhere on your layout to qualify! There's going to be prizes!

Friday, June 1, 2012

June Page Maps - Your Design Team - Sew wonderful

Auntie Em's Design Team have outdone them selves this month with a theme of sewing or stitching on your layout based on the June sketch from the Scrapbook Today PageMaps calendar.


We used Echo Park's This & That collection for this challenge. As well as some Memo Pins from Tim Hotz, Chipboard pieces from Bazzill, and buttons from Bazzill Basics. 


You can get in on the challenge too by creating a layout based on the June sketch from the calender and make sure you use some sewing or stitching in your layout.  Bring it to Auntie Em's and you could win a prize!


Lorena's Take:   Fun and Games

I did machine stitching on the centre of the layout, a hand stitched blanket stitch on the journaling pocket and faux stitching is several spots, including the spot where my sewing machine decided to give me grief LOL!


Stephanie's Take: Boys

I'm not a big fan of sewing on my  pages.  Not because I don't like the look, I'm just not good at it.  I tried many different things, but nothing worked.  Finally I just did a very simple stitching on a piece of pattern paper and added it to the bottom of my page.  After seeing the wonderful things the other girls did, I will try to do more stitching on my pages.


Sarah's Take:  Swoosh


I used the Sew Easy system to add brown stitching as a vertical border. A little stitching can go a long way but I think it adds a really nice touch.


Nancy's Take:


I used the stitching to create my baseballs it gives them a really cute feel.

Tuesday, May 1, 2012

May I present to you some Sunshine Happiness

May is here, and as I promised you April showers brought the May flowers ... in the form of Bella Blvd.'s Sunshine Happiness!

What a beautiful way to bring in the summer than with this paper line.  Full of pinks, purples, flowers, and fruit. 


Lets see what your Auntie Em's design team has come up with to inspire you to utilize the May sketch from the Scrapbook and Cards today calendar!


Nancy's take:

I decided to create a simple clean line layout and used the embossing to add another polka dot pattern. I created my blue embossed strip at the bottom using one of my favorite tools the cuddlebug. it added just the right amount of detail to a simple clean layout.


Sarah's take:


I love to heat emboss! I used sparkly embossing powder in the embellishment cluster on the right side of the photo, on the border of my fan flower and on the mini-border at the bottom left of the page. I also used mat embossing powder in chestnut for a more muted look.


Stephanie's take:


I really like dry embossing, but I don't do it very much, since I usually forget about it until it's too late.  For this layout I dry embossed the small strip of paper on the bottom right corner.  I originally used heat emboss for the little fish, in a translucent colour, but when I was done my page I was disappointed with the result.  So I decided to embossed the little fish with Liquid Pearls in white opal.  Is that wet emboss?  I don't know...


Lorena's take: 

I played up the greens and oranges from this line to bring out the colours in my kids clothes. I heat embossed the popsicle and the border on the cherry paper as well as the chicken wire on the orange paper. I dry embossed on the background of each of my photo matting. 


Remember you too can play along by bringing your May sketch using Auntie Em's product into the store - there is a fantastic prize to be won if your layout is selected as this month's winner!

Monday, April 2, 2012

PageMaps Calendar Reveal - April featuring Basic Grey's Hello Luscious

Well March sure came in like a Lion and out like a lamb eh? SO GLAD that winter is over for this year - so how about a splash of spring/summer colours to get you excited for the upcoming beautiful seasons we have ahead of us ... can you tell I am a summer baby??

So this month the amazing Design Team got to work with the Hello Luscious collection by Basic Grey - pinks and yellows and very floral - lets see what the girls put together. Now remember that the challenge for April is to add some splash by layer or adding dimension to your layout. In the calendar they used several layers of a boarder punch.

Sarah's take: BBQ Time!


I love using border punches! Layering different border punch patterns is a great way to add dimension.

Another way to add dimension is to use pop-up tape (or foam squares). It's easy and effective! Using it along with layering can really make your page stand out. I used it on my title piece and on a layering piece at the bottom of the page.

A lot of lines have 3D embellishments. I used some of the Hello Luscious embellishments and layered them on the top right of one of the pictures, using some chipboard pieces to add dimension.

Stephanie's take: Sunshine Girl


This months design challenge was to add dimension to the page. I did this by layering some ribbon, adding crystal effects, buttons, and chipboard shapes.


Nancy's take: Premier Noel

My dimension came from using pop up dots (love those) and using different chipboard accents. and layering things on top of each other giving it more depth. I went for a Christmas theme the paper inspired me to do so. I love the colours. This challenge gave us some interesting results I just love it. All the pages are so different.

Lorena's take: Cutie Patootie

I used journal strips and a title that went around the corner and layers and layers of my signature hand made flowers - four of them to be exact. I added dimension with a paper doily and layers of patterned paper and a border punch with some trim. I focused on the pink in this paper line, and let the photo be the contrasting colour.

Wow the girls have out done themselves again, and I for one am impressed with the layers in each of these layouts. Lets see what you can do with layers inspired by the April PageMaps calendar. Bring your layout to Auntie Em's Scrapbooking for a chance to win a fantabulous prize!!

Wednesday, March 14, 2012

Stephanie's March PageMaps Layout

Hey Everyone,

I was so excited when Emma told me that I was chosen as one of the Design Team members, but then reality set in... I would have to dust off my camera, I would need to create at least one page every month, and start writing in a blog!  And above all that, my layouts wouldn't just be stashed away in my album, but posted at Emma's for everyone to see. 

My first problem with this months challenge was that I didn't have any photos to use for my layout.  Most of my photos are of my son.  I had a couple of photos on my computer of myself but didn't have time to get them printed.  So I printed them on regular paper on my bubble jet.  Needless to say, the quality wasn't great so I had to find a way to work around it.  I glued the photos to circle chipboard with regular white craft glue and covered the photo as well to seal it, give it a shine and a little texture.

Next was the big challenge... make my own flower.  I tried different things, but nothing worked.  Finally, I took a circle chipboard and started gluing thread to make a flower design and added Stickles.  It's not great, but I was happy enough to keep it anyways.

I created the scalloped border using the Cricut with the George and Basic Shaped cartridge, and a little Stickles.  For my title, I used Chip Chatter Gellies.


Now it's your chance to use the March PageMaps calender sketch and make your own flowers - be sure to bring your submission to the store for your chance to win!


Stephanie